The fastest way to get usable brand images is a combined founder-story and content-block shoot, with every setup captured in three orientations. Start with a one-page brief, then book your photographer. Jarvis & Co typically delivers vertical, horizontal and square crops from each session, ready for your website and social channels.
TL;DR:
- Focusing on three to four proven branding photo concepts, such as founder shoots and product scenes, maximizes value from a single session.
- Planning with a detailed one-page brief, moodboard, and shot list ensures images fit specified use cases and maintains brand consistency.
- Clothing, props, and backgrounds should match your brand palette, with wardrobe taken out in advance to ensure accurate color representation.
- Selecting a photographer and location based on style, lighting, and permissions is crucial, with consistency in lighting and orientation across setups.
- Proper editing and pre-planning for channel-specific orientations boost the photos' effectiveness and ensure a cohesive brand presence.
Table of Contents
- What are the best brand photoshoot ideas to try?
- How do you plan a brand shoot with a moodboard and shot list?
- What should you wear and bring for a brand photoshoot?
- How do you choose a location and photographer for your shoot?
- What technical checklist keeps your shot list campaign-ready?
- How do you repurpose photoshoot images across channels?
- What does a professional shoot look like in practice?
- How should models or team members prepare for the shoot day?
- How do you edit photos to keep brand consistency?
- What lighting techniques work best for brand photography?
- How should people pose to convey brand personality?
- How do you weave brand colours into the shoot itself?
- What's the one thing most brand shoots get wrong?
- How Jarvis & Co turns your brand shoot into finished website assets
- Sources
What are the best brand photoshoot ideas to try?
You don't need twelve concepts. You need three or four that actually map to how you sell, then the discipline to shoot each one properly. The strongest branding photoshoot ideas tend to fall into a handful of proven categories, and mixing two or three in a single session gets you the most mileage from one booking.
Founder story and behind-the-scenes. Photographing yourself at work, mid task, unposed, does more for trust than a polished headshot ever will. Process shots demonstrate expertise and show clients exactly how a service gets delivered, which is why they tend to outperform studio portraits for building credibility quickly.
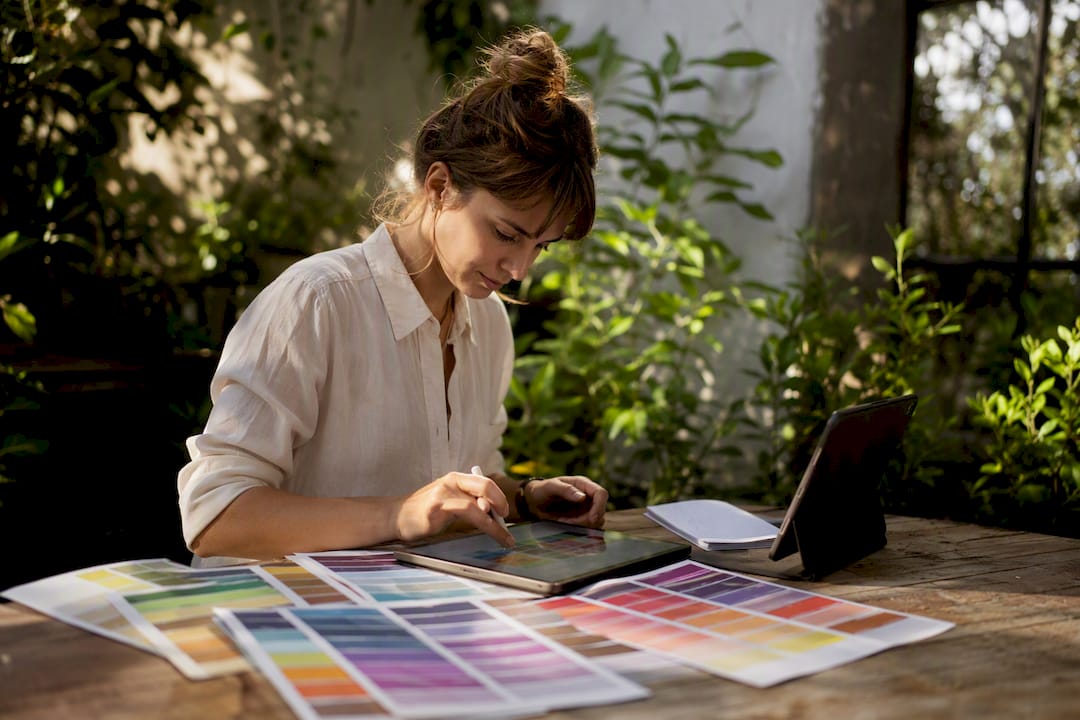
A day-in-the-life documentary sequence. Follow yourself or a team member through an actual working morning: opening up, prepping, the first client interaction. This gives you a bank of candid stills you can drip out across weeks rather than burning through content in one go.
Product lifestyle scenes and flat-lays. If you sell anything physical, flat-lay collections and product-in-context shots are among the most reusable assets for ecommerce listings and social grids alike. Style the product as someone would actually use it, not on a blank white backdrop.
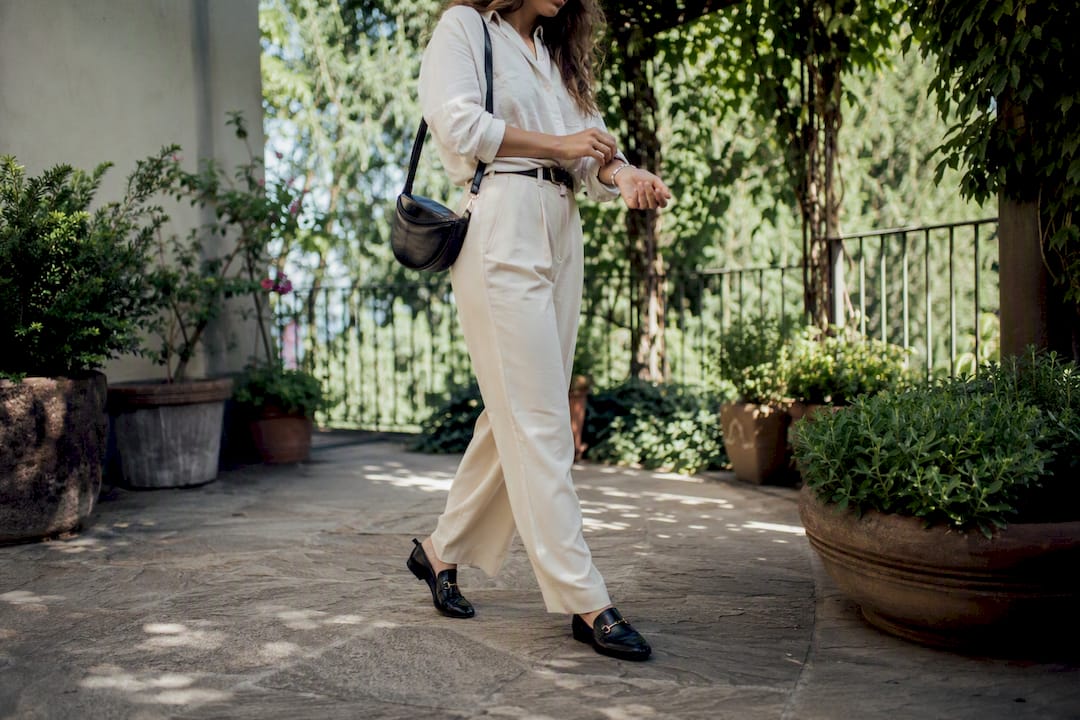
Movement and candid moments. Walking shots, laughing mid-conversation, hands mid-task. Slightly imperfect, motion-led images read as more authentic than anything stiffly posed, and they work especially well for Reels covers and Stories.
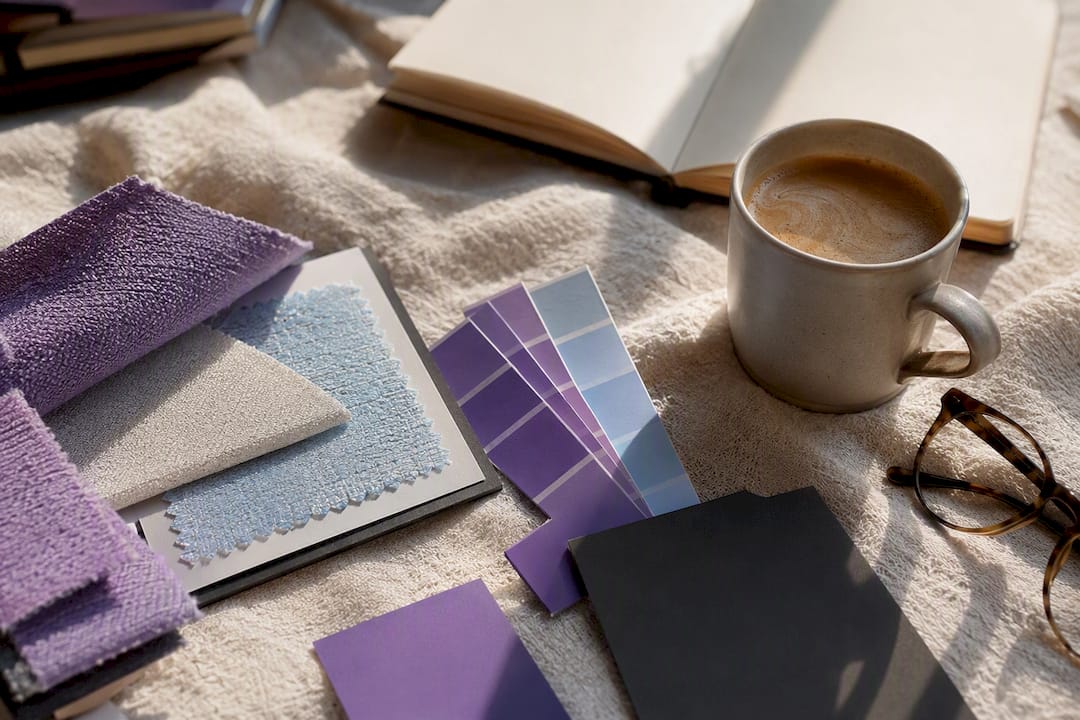
Vibe-led shoots built on colour and texture. Pick one strong visual mood (warm terracotta and linen, or high-contrast black and brass) and shoot everything within it. This is where bold, unique brand visuals come from rather than generic stock-photo energy.
Before-and-after or transformation sequences. Ideal for trades, aesthetic clinics and anyone whose work has a visible result. Structure the shoot so the "after" reuses the same framing as the "before" for a clean side-by-side later.
Seasonal and campaign-ready sets. Book one longer session and shoot enough variety to cover a full quarter: a spring launch, a summer promotion, an autumn restock. It's far cheaper than four separate bookings.
A shortlist to take into your first planning call:
- Founder story or behind-the-scenes process
- Day-in-the-life sequence
- Product lifestyle and flat-lays
- Movement and candid interaction
- One strong colour-led vibe set
- Before-and-after (if applicable)
- A seasonal campaign block
Combine two or three per session rather than trying to cover all seven in one day.
How do you plan a brand shoot with a moodboard and shot list?
Every strong shoot starts on paper, not with a camera. Build a one-page creative brief that states your aesthetic, your colour palette and exactly where each image will be used, before you think about outfits or props. Clarifying usage and mood up front is what stops a shoot from producing pretty but useless photos.
- Build the moodboard. Pull five to ten reference images that match the emotional response you want visitors to feel, because visuals are one of the strongest levers for creating a customer connection to your brand.
- Map concepts to goals. Assign each concept to a specific use: website hero (horizontal), Instagram grid (square), Stories or Reels cover (vertical).
- Write the shot list. For every setup, note wide, medium and close framings. This single habit multiplies your usable output from the same time on set.
- Set the timeline. Book your photographer four to six weeks out, confirm your location or venue two to three weeks out, and lock wardrobe and props the week before.
Pro Tip: Print your shot list and tick items off as you go. It sounds basic, but it's the single easiest way to avoid discovering a missing hero shot after everyone's gone home.
A creative brief template with a shot list keeps the whole day efficient and gives your photographer exactly what your marketing actually needs.
What should you wear and bring for a brand photoshoot?
Wardrobe should say something specific about the role you want clients to see you in, not just "smart casual." A trades business owner in branded workwear reads differently to a consultant in tailored knitwear, and both are correct if they match the trust you're trying to build.
- Pick two or three outfits that echo your brand palette; avoid busy patterns that fight the background.
- Choose props that show process or results (tools, samples, finished work) rather than generic desk clutter.
- Bring spares of anything that creases, marks easily, or needs constant straightening.
- Pack a shoot-day bag: lint roller, safety pins, a steamer if you have one, and water.
Pro Tip: Lay every outfit out against your actual brand colours the night before. Screens lie about colour matching far more than fabric swatches do.
How do you choose a location and photographer for your shoot?
Studio, workspace or outdoors each send a different signal. A studio gives you controlled light and a clean, consistent backdrop. Your actual workspace adds authenticity and context clients recognise. Outdoor brand photography ideas work well for lifestyle brands wanting natural light and a looser, more candid feel.
- Check a photographer's portfolio for consistent lighting and tone across a whole gallery, not just a few standout shots.
- Confirm venue permissions and hire costs early, especially for outdoor or public locations.
- Ask what a typical package includes: hours on site, number of edited images, turnaround time.
- Compare at least two photographers on style before booking, not just price.
Budgets vary widely by region and scope, so get a written quote covering hours, deliverables and usage rights before confirming.
What technical checklist keeps your shot list campaign-ready?
Orientation decides where an image can actually be used, so decide it before the shutter clicks, not in the edit.
- Vertical (9:16 or 4:5): Stories, Reels covers, Pinterest.
- Horizontal (16:9): website heroes, LinkedIn banners, YouTube thumbnails.
- Square (1:1): Instagram grid, product listings.
Shooting wide, medium and close for every single setup, and logging the orientation as you go, is the one habit that most reliably increases how many usable images you get out of one shoot.
- Deliver high-resolution files (minimum 300 DPI for print, 72 DPI web-ready) with crop-safe margins.
- Back up cards on site, not just at home that evening.
- Check lighting consistency between setups so edits don't need heavy colour correction later.
How do you repurpose photoshoot images across channels?
A shoot only pays for itself once the images are actually working across your website and marketing. Horizontal shots become website heroes and product-page banners. Square crops feed your Instagram grid and product listings. Vertical frames cover Stories, Reels and Pinterest pins. LinkedIn tends to favour candid, human shots over polished product beauty images.
- Batch your captions and slot images into a content calendar the same week you receive the gallery, while the story is still fresh.
- Use simple, consistent cropping rules across platforms so the brand still feels like one entity, not four different accounts.
- Track click-through rate on hero images and engagement on social posts to see which concepts actually earn their keep.
- Feed strong candid shots into longer-form content like case studies, where behind-the-scenes imagery adds authenticity that a stock photo can't.
Mapping each image to its channel before the shoot, not after, is what turns a nice gallery into commercial assets.
What does a professional shoot look like in practice?
Before any Jarvis & Co shoot, we ask three questions: what's the brief, what's the shot list, and what are the delivery specs. That order matters, because skipping straight to "let's just shoot" is how businesses end up with a hundred pretty photos and no usable hero image.
Our Leigh & Co case study shows this in practice: concept ideas translated directly into website-ready assets, not just a gallery link left unused. The checklist stays the same every time: brief, shot list, orientations, delivery format.
How should models or team members prepare for the shoot day?
Anyone appearing on camera performs better with a small amount of warning, not a script. Send your team members the moodboard and shot list a few days ahead so nobody's guessing at the tone on the day.
Ask everyone to arrive with clean, ironed clothing in the agreed palette, and to bring one backup outfit in case of spills, creases or an unexpected colour clash with the backdrop. Skin and hair prep matters more than most people expect: a light matte powder cuts shine under studio lighting, and simple, low-maintenance hairstyles photograph better than anything requiring constant fixing between shots.
Brief people on a few natural poses and prompts in advance rather than leaving it to improvisation on the day. Something as simple as "look at the product, then look up and smile" gives a nervous team member a script to follow instead of freezing.
Build in five minutes of relaxed conversation before the camera comes out. The stiffest, most obviously posed shots almost always come from the first frames of a session, before anyone's settled. Schedule a short break every 45 minutes or so, particularly for outdoor shoots in bright sun, since squinting and fatigue show up fast in close-up crops.
Finally, confirm who's approving final image selection before the day. Sorting that out on set, mid-shoot, wastes time everyone would rather spend getting one more setup done.
How do you edit photos to keep brand consistency?
Editing style is where a lot of otherwise strong shoots quietly fall apart. If your website has a warm, muted palette and your Instagram feed suddenly turns cool and high-contrast, the brand feels disjointed even though the photos themselves are good.
Agree your editing style before the shoot, not after, ideally as part of the same brief that sets your moodboard. Decide on colour temperature (warm versus neutral), contrast level, and whether you want a clean commercial finish or something looser and more editorial. Write it down in one sentence: "warm, soft contrast, slightly desaturated" is enough for a photographer or editor to work from consistently.
Create a simple preset or set of editing presets for your gallery, and apply the same one across every image rather than adjusting each shot individually to taste. This is what keeps a founder-story shot and a product flat-lay from a different session looking like they belong to the same brand months later.
Keep skin tones natural. Over-processed, heavily smoothed portraits tend to undermine the authenticity that behind-the-scenes and process photography is meant to deliver in the first place. A light touch on retouching, mainly blemish removal and minor colour correction, keeps images feeling real.
Finally, export a "brand style" reference sheet alongside your final gallery: the colour grade, the crop ratios, the file naming convention. Whoever edits your next shoot, in six months or two years, should be able to match it exactly.
What lighting techniques work best for brand photography?
Light shapes the mood of every single image, so get this decision made before you book anything else. Natural window light, soft and diffused through a sheer curtain, is the easiest option for small businesses without a studio budget, and it flatters most skin tones better than harsh overhead lighting.
For studio setups, a large softbox positioned at 45 degrees to your subject, with a reflector on the opposite side to fill shadows, gives you the clean, even look most branding photography aims for. Avoid direct overhead light wherever possible; it casts unflattering shadows under eyes and along the jawline that no amount of editing fully corrects.
Outdoor brand photography ideas work best during golden hour, roughly an hour after sunrise or before sunset, when light is warm and soft rather than flat and harsh. Midday sun creates squinting and blown-out highlights, so if you're locked into a midday slot, shoot in open shade instead of direct sunlight.
Consistency across setups matters more than any single lighting trick. If your founder shots are lit warm and soft but your product flat-lays are lit cool and bright, the gallery reads as two different shoots stitched together. Brief your photographer on this explicitly, and ask to see a couple of test shots early in the session before committing to a full setup.
How should people pose to convey brand personality?
Posing is where a shoot either looks like a brand or looks like a stock photo library. The fix is almost always the same: give people something to do rather than somewhere to stand.
For individual shots, angling the body slightly away from the camera while the face turns back towards it reads more natural than a square-on pose. Hands are the usual problem: give someone a prop, a cup, a tool, a notebook, and the awkwardness mostly disappears because there's a reason for the hands to be somewhere.
For groups, avoid the straight lineup entirely. Stagger heights by having people sit, lean or stand at slightly different depths, and prompt genuine interaction, like someone pointing at something on a laptop, rather than everyone smiling directly at the lens at once. The resulting image looks like a real team, not a corporate stock photo.
Match the energy of the pose to the brand personality you're going for. A calm, considered aesthetic clinic wants stillness and soft eye contact. An energetic trades business wants motion, mid-task shots, tools in hand. Ask your photographer for three or four pose variations per setup rather than settling on the first one, because the difference between a stiff shot and a natural one is often just a five-degree shift in angle.
How do you weave brand colours into the shoot itself?
Colour is one of the fastest ways to make a gallery instantly recognisable as yours, and it costs nothing extra to plan for. Pull your exact brand hex codes before the shoot and share them with your photographer and stylist, rather than describing colours from memory.
Wardrobe is the easiest lever: choosing clothing in or near your palette does more for visual consistency than almost any other single decision on the day. If your brand runs on a bold purple-to-blue gradient against dark, minimalist backdrops, for example, dressing subjects in deep jewel tones against dark, uncluttered settings will echo that immediately, without needing a single logo in frame.
Props and backdrops carry colour too. A single accent object, a mug, a folder, a piece of stationery, in your exact brand shade does more work than trying to force colour into every element of the frame. Overdoing it tips into looking like a corporate stock shoot rather than an authentic one.
Keep backgrounds simple enough that your palette reads clearly. A cluttered, multicoloured setting will always fight your brand colours for attention, no matter how carefully you've dressed the subject.
What's the one thing most brand shoots get wrong?
Most advice on this topic focuses entirely on ideas: more concepts, more locations, more creative angles. That's the easy part. What actually separates a shoot that pays for itself from one that produces a folder of nice-but-unused photos is the boring bit nobody wants to plan: the shot list and the delivery spec.
I'd argue the conventional advice underrates timeline discipline specifically. Businesses book a photographer with two weeks' notice, skip the moodboard entirely, and then wonder why half the gallery doesn't fit their website layout. The wide, medium, close habit isn't a nice-to-have technique, it's the difference between one usable hero shot and six.
If you take one thing from this guide, prioritise the brief over the inspiration board. Ideas are genuinely everywhere; a shot list mapped to actual marketing use is much rarer, and it's the part that determines whether your investment shows up as more enquiries six months from now.
— Luke
How Jarvis & Co turns your brand shoot into finished website assets
Most small businesses lose money on photography not because the ideas were wrong, but because nobody mapped the shots to where they'd actually be used. Jarvis & Co plans every brand shoot backwards from your website and social channels, so you're not left editing a gallery to fit after the fact.
Our photography service covers the brief, the moodboard, the shot list and delivery in every orientation your website and social accounts need, alongside content creation that turns the gallery into a working content calendar rather than a folder that sits unused. The result is a consistent set of assets across your hero images, product pages and social grid, built to convert visitors rather than just look good.
If you're ready to plan a shoot properly, get in touch with Jarvis & Co for a discovery call. We'll talk through your brief, your goals and your timeline, and tell you exactly what a package would include before you commit to anything.
Sources
- Visuals are the key to creating great customer brand connections — Forbes
- Brand photoshoot ideas to inspire your next shoot — Avalon Mohns
- How to plan a branding session that actually elevates your business — Nikkels Photography
- Creative brief for photo shoot: templates and shot lists — Bissig